
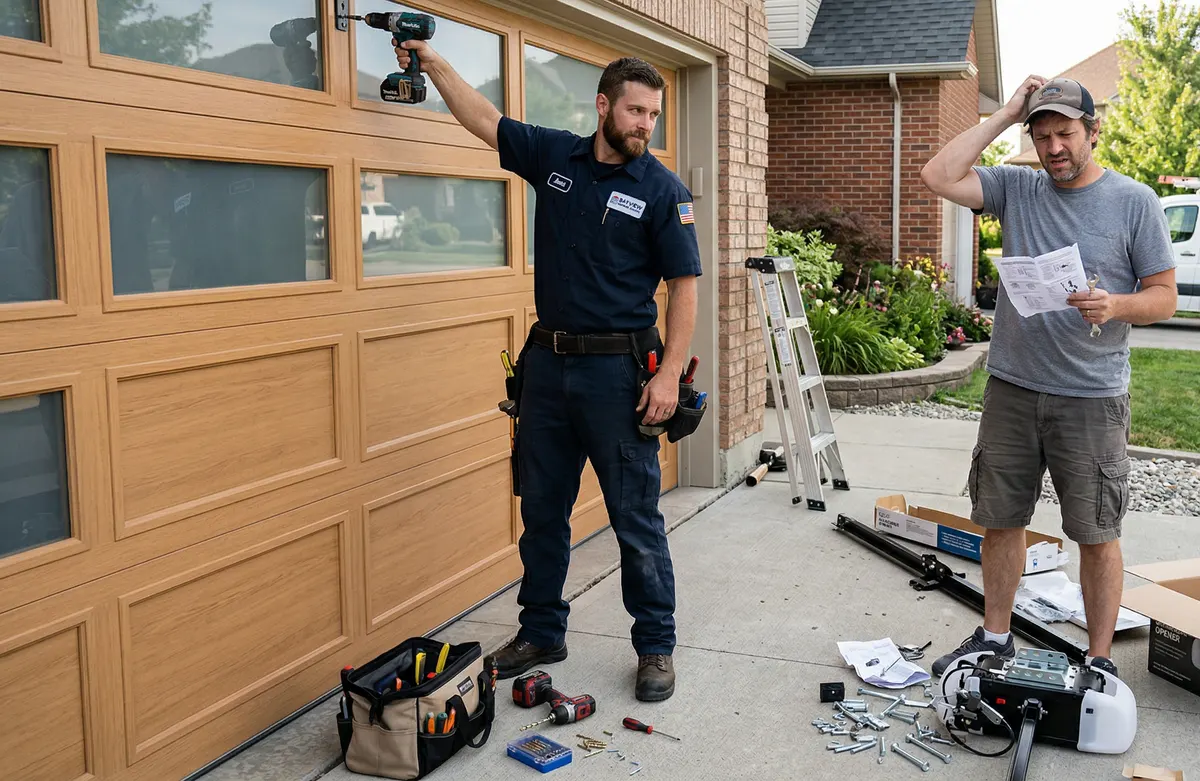
Can You Install a Garage Door Opener Yourself?
Technically, yes. Garage door opener installation is one of the few garage door jobs that a handy homeowner can tackle without risking serious injury (unlike spring replacement, which you should never DIY). Opener manufacturers design their products for consumer installation, and the boxes come with detailed instructions.
But "can" and "should" are different questions. Here's an honest look at what's involved in both approaches so you can decide what makes sense for your situation.
What DIY Opener Installation Involves
Time: 4 to 6 Hours
If you've never installed an opener before, budget a full Saturday morning and then some. The manufacturer says 2 to 4 hours, but that's for someone who's done it before and has all the right tools ready to go. For a first-timer, 4 to 6 hours is realistic, and 8 hours isn't unheard of if you run into complications.
The assembly itself, putting together the rail, attaching the motor unit, takes about an hour. The installation, mounting, wiring, adjusting, takes the rest.
Tools You'll Need
- Stepladder (6-foot minimum, 8-foot if you have high ceilings)
- Power drill with various bit sizes
- Socket wrench set
- Adjustable wrench
- Level
- Tape measure
- Wire strippers (for the safety sensor wiring)
- Pliers
- Pencil for marking mounting holes
If you own most of these already, great. If you're buying tools to do the job, factor that into your cost comparison.
The Steps
- Assemble the rail and trolley. Follow the instructions to put together the rail sections and attach the trolley and chain/belt.
- Mount the header bracket. This attaches above the garage door and anchors the rail. It needs to be perfectly centered and securely bolted, this bracket bears the full tension of the system.
- Attach the rail to the header bracket and raise the motor unit. This is the hardest part physically. The assembled rail and motor weigh 40 to 60 pounds, and you need to hold it overhead while attaching it to the ceiling bracket. A second person is almost mandatory here.
- Mount the motor unit to the ceiling. Using angle iron or a hanging bracket system, you secure the motor unit to the ceiling joists or a support structure. This needs to be solid, a 60-pound motor vibrating on an under-supported mount will loosen over time.
- Install the door bracket and arm. The opener connects to the door via a curved arm and bracket. The bracket mounts to the top section of the door, and the arm connects to the trolley on the rail.
- Wire and mount safety sensors. The photo-eye sensors mount at the bottom of the door tracks, about 6 inches off the ground. You'll run wire from the sensors to the motor unit and align them so the beam is unbroken.
- Wire the wall control. Run wire from the motor unit to where you want the wall button mounted, then connect and mount the button.
- Program remotes and adjust settings. Set the open and close limits so the door fully opens and fully closes without slamming. Adjust the force settings so the door reverses when it meets resistance. Program your remotes and keypad.
DIY Risks
- Improper mounting: If the header bracket or ceiling mount isn't properly secured, the opener can pull loose over time. This damages the door and ceiling and creates a safety hazard.
- Wrong force settings: If the force limit is set too high, the door won't reverse properly when it hits something, like a child, a pet, or your car. This is a serious safety issue.
- Sensor misalignment: Improperly aligned safety sensors defeat the purpose of having them. The door needs to reverse the instant the beam is broken.
- Voided warranty: Some opener manufacturers limit their warranty to professional installations. Check before you start.
What a Professional Does Differently
Time: 1 to 2 Hours
A professional tech who installs openers every day finishes in 1 to 2 hours including cleanup and programming. They've done it hundreds of times. There's no instruction manual reading, no trial-and-error mounting, no second trip to the hardware store for a missing bracket.
Proper Mounting
A pro knows how to find ceiling joists (not just drywall), how to reinforce mounting points when needed, and how to handle non-standard garage configurations, vaulted ceilings, side-mount situations, low headroom installs. They also know the Florida Building Code requirements for opener installation in wind zones. Florida's building codes are stricter than most states, and certain counties require opener installations to meet specific structural and electrical standards, something most DIYers aren't aware of until it comes up during a home inspection.
Calibrated Safety Settings
Professionals calibrate the force and limit settings precisely. They test the auto-reverse with a block on the floor and verify the photo-eye response. They make sure the door balances correctly with the opener engaged. Getting these settings right isn't just about performance, it's about safety and code compliance.
Code Compliance
In Florida, garage door opener installations should comply with local building codes and the National Electrical Code. A professional installer knows these requirements. A DIY installer usually doesn't, and an improperly installed opener can cause issues if you sell your home and it comes up during inspection.
Cost Comparison
Here's the math:
- DIY: Cost of the opener ($180 - $450 depending on brand/model) + your time (4-6 hours) + any tools you need to buy
- Professional: Cost of the opener + $150 - $300 for installation labor
The labor premium for professional installation is $150 to $300. That buys you: proper mounting, correct safety calibration, code compliance, warranty protection, and 4 to 5 hours of your Saturday back. For most people, that's a good trade.
When to Definitely Hire a Pro
Some situations make DIY a bad idea regardless of your skill level:
- You're replacing an old opener with a different brand or drive type. Different openers have different mounting requirements, and the old bracket positions may not work.
- Your garage has a non-standard ceiling. Vaulted ceilings, extremely high ceilings, or finished ceilings complicate mounting significantly.
- You need electrical work. If there's no outlet near where the opener mounts, you'll need an electrician anyway. Might as well have a pro install the opener too.
- Your door is heavy or oversized. Larger doors require openers with higher horsepower and precise force calibration. Getting this wrong burns out the motor or creates safety issues.
- You're adding smart home features or a battery backup. These add complexity to the wiring and setup.
The Bottom Line
If you're handy, have the tools, have a helper, and have a standard garage setup, DIY opener installation is doable. Just follow the instructions carefully, take your time with the safety sensor alignment, and test everything thoroughly before calling it done.
If your time is worth more than $150, or if anything about your garage is non-standard, call a pro. Champions Garage Door Service installs openers across the Tampa Bay area and we'll have it done before lunch. Call (813) 999-5749 for a free quote.