
Why Your Garage Door Won't Close (It's Usually the Sensors)
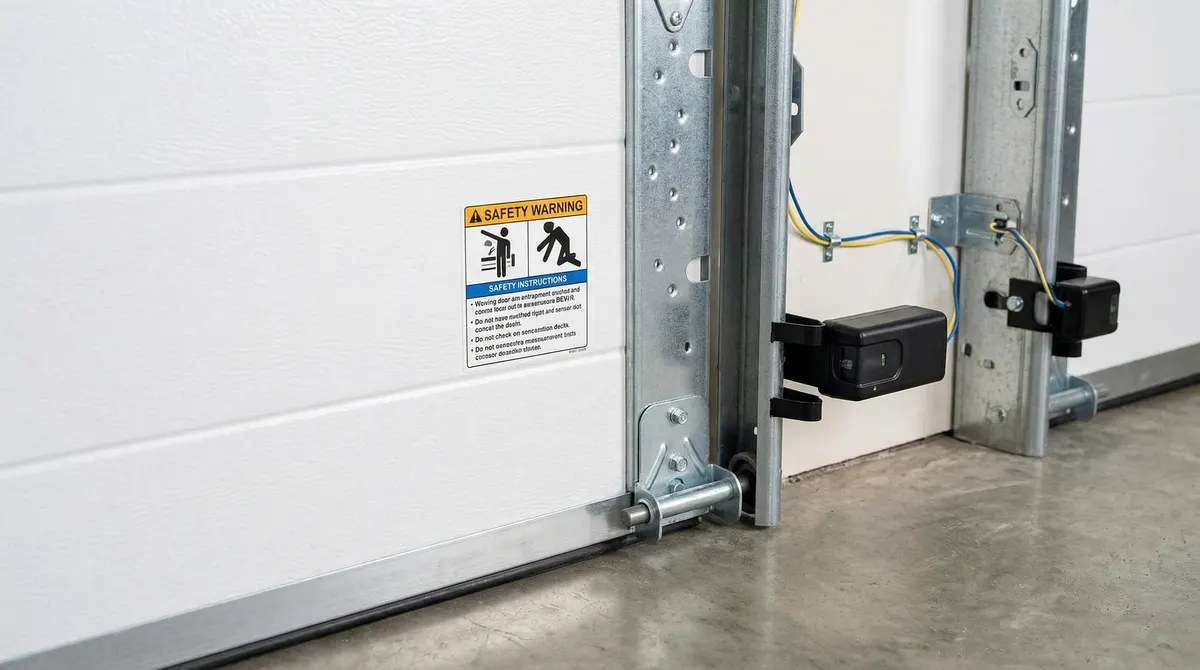
You press the button, the door starts to close, then immediately reverses back up. Or the opener light blinks but the door won't move at all. Nine times out of ten, the problem is your safety sensors, specifically, garage door sensor alignment. These are the two small devices mounted near the floor on either side of your garage door opening, about 6 inches off the ground.
Federal law has required these photo-eye sensors on all residential garage door openers since 1993. One sensor sends an invisible infrared beam to the other. If anything breaks that beam, a kid, a pet, a trash can, the door reverses. When the sensors are misaligned, the beam is broken constantly, and the door thinks something is always in the way.
Check the LED Lights First
Before you touch anything, look at the LED lights on each sensor:
- Sending sensor (usually has a green LED): This light should be solid and steady. If it's off, the sensor has no power, check the wiring.
- Receiving sensor (usually has a green or amber LED): This is the one that matters for alignment. If it's solid green, the sensors are aligned. If it's flickering, dim, or off, the sensors are misaligned or the beam is blocked.
Different opener brands use slightly different LED color schemes, but the principle is the same: a solid, steady light on the receiver means good garage door sensor alignment.
Step-by-Step Sensor Alignment
Step 1: Clean the Sensor Lenses
Before adjusting anything, wipe both sensor lenses with a soft cloth. Dust, spider webs, and dirt are the most common causes of sensor problems in Tampa garages. Florida's year-round bugs love building webs right across these lenses.
Step 2: Check for Obstructions
Make sure nothing is blocking the beam path between the two sensors, no boxes, brooms, trash cans, or debris. The beam travels in a straight line about 6 inches off the floor. Even a small object can trigger the safety reverse.
Step 3: Loosen the Wing Nut
Each sensor is mounted on an L-shaped bracket attached to the garage door track. There's a wing nut or bolt holding the sensor to the bracket. Loosen it just enough that you can move the sensor by hand, don't remove it completely.
Step 4: Adjust the Receiving Sensor
Slowly tilt and rotate the receiving sensor (the one with the flickering or dim light) until the LED turns solid. Move it in tiny increments. When the light goes from flickering to solid, you've found the sweet spot. Tighten the wing nut gently, don't overtighten or you'll knock it out of alignment again.
Step 5: Test the Door
Press your wall button to close the door. It should close smoothly without reversing. Then test the safety feature: place an object (like a cardboard box) in the sensor path and try to close the door. It should reverse immediately. If it closes on the object, the sensors aren't working properly and you need professional help.
The Florida Sun Problem
Here's something specific to Tampa and Florida garages: afternoon sun interference. If your garage faces west or south, the intense afternoon sun can overpower the infrared beam and cause false readings. Your door works fine in the morning but refuses to close at 3 PM. This is extremely common in Florida.
Fixes for sun interference:
- Add a small sun shade (a piece of cardboard tube or PVC pipe) around the receiving sensor
- Reposition the sensors slightly inward on the tracks, out of direct sunlight
- Some newer sensors have sun-resistant lenses, ask about upgrading if this is a recurring issue
When the Sensor Is Actually Dead
If cleaning, aligning, and shading don't fix it, the sensor itself may be dead. Garage door sensor alignment won't help if the internal components have failed. Signs of a dead sensor:
- No LED light at all, even with confirmed power to the wires
- LED is solid but the door still won't close (wiring issue between sensor and opener)
- Sensor is cracked or physically damaged (common if it's been hit by a bike, lawnmower, etc.)
Replacement sensors cost $30 to $60 for the pair plus $75 to $100 for installation if you need a tech. Champions Garage Door Service replaces sensors across Tampa Bay every week, it's one of our most common service calls. Reach out at (813) 999-5749 if you've tried the steps above and the door still won't cooperate.